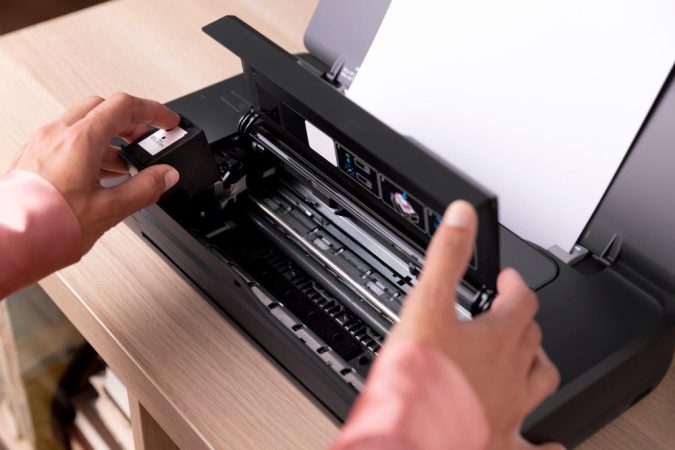
When the printer is switched off and disconnected from the mains, it is time to remove the cartridge from the printer. Start by opening the front panel of the printer, which may be hinged or require a lock. Most cartridges either slide outwards on a track or are contained in a plastic housing that can be opened. To remove a cartridge, carefully pull it out of the printer. Be careful not to touch any metal components as this can cause damage and affect performance. After removing the cartridge, dispose of it according to local regulations. It is important to recycle cartridges whenever possible to reduce waste. Once the cartridge has been removed from the printer, it is time to install a new one. To do this, simply insert the cartridge into the printer in the same way as you removed it. Make sure to check for obstructions before pushing the cartridge fully into place. Once the cartridge is firmly seated, close the front panel of the printer and plug it back in. Finally, switch on the printer and test its operation. If it works properly, you're done! Congratulations on the successful replacement of your printer cartridge.
If anything goes wrong during this process, or if the new cartridge does not seem to be working properly, please refer to your user guide for more troubleshooting tips. In addition, if necessary, contact a professional technician for further assistance with your printer. With patience and care, replacing your printer cartridge is an easy task that can save you time and money.
Vilnius, Kaunas, Klaipėda, Šiauliai > Articles at > Refilling printer cartridges, cartridges, news, tips > How to remove the cartridge from the printer


